

You’ve got a new product to sell, ready to put it up on your e-commerce store. But spending money on professional product photography every time would bite off more of your budget than you can chew.
Hiring a photographer or buying expensive photo equipment is unnecessary to get great results with your products online. There are ways to take good product photos without being a professional photographer or breaking the bank.
This article will share some starter tips for taking good product photos for your website. You’ll learn that you can get good shots for your online store with your smartphone.
What equipment do you need for shooting product photos
You don’t need expensive equipment in order to take good product photos. Of course, a professional studio set-up helps, but there are a lot of affordable tools that enable you to take great product images:
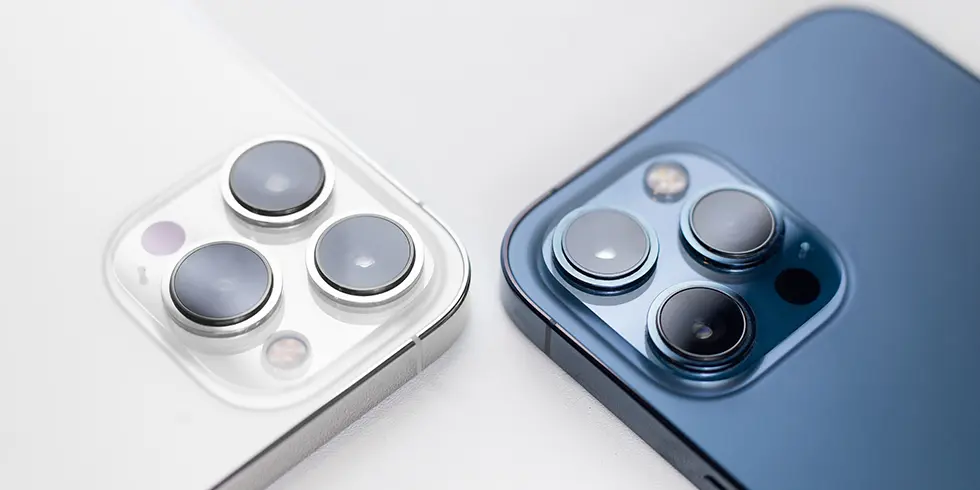
A good camera phone
Yes, you don’t necessarily need a professional camera. This is probably the most important piece of equipment for taking good product photos. Make sure your camera phone has a good resolution and zoom feature so you can get close-ups of your product.
A tripod
A tripod is essential for keeping your camera steady when taking pictures of products, especially if you’re using a phone camera.
A white background
A white background is the next best thing if you don’t have a studio setup. You can buy white poster board or fabric at any craft store or use a bed sheet as a backdrop.
Lighting
Natural light is always best when taking product photos, but if you’re shooting in low light or indoors, invest in some quality lighting to help brighten up your shots.
Beginners’ tips for taking great product photos
Now that you have all the necessary equipment, it’s time to start taking pictures. Here are a few tips for setting up your product photos and executing them as best as possible:
Get your product ready
In order to make the product images look good, you need the product itself to make sure the product is in pristine condition and display it in the best possible way for a clear view. For clothing, you can use a hanger or mannequin to show your products instead of laying it flat.
Choose the right angle
When taking pictures of products, finding the right angle is essential. The best way to do this is to experiment and take a few shots from different angles until you find one that looks good.
Use a shallow depth of field
Using a shallow depth of field means you want your product in focus and the background out of focus. This can be achieved using a phone camera with portrait mode or manual settings on a DSLR camera.
Keep it simple
When taking product pack shots, less is more. Avoid using props or busy backgrounds that take away from the product.
Get creative
Try mixing it up, using different angles, lighting, and backgrounds to see what looks best. Don’t be afraid to experiment and get creative with your product photos in addition to your basic pack shots. Try using different angles, lighting, and backgrounds to see what looks best.
How to take specific types of product photos
There are a few different types of product photos that you might want to take for your e-commerce store. Here are some tips for taking specific types of product photos:
Taking close-up shots
When taking close-up shots of products, it’s essential to get as close to the product as possible and to use a tripod to prevent the camera from shaking.
Taking photos of products in action
If you’re selling a product that can be used, like tools or accessories, it’s a good idea to take photos of the product in action. This will give potential customers a better idea of how the product looks and works.
Taking photos of multiple products
Photos of multiple products offer various benefits. You can use them to sell bundles, highlight them on your homepage or category page and employ them for branding.
To take photos of multiple products together, it’s crucial to arrange them in an exciting way that will catch the eye of potential customers. You can also use props to add more appeal to your shots.
Taking product photos in lifestyle settings
If you want your product photos to have a more lifestyle feel, try taking them in real-world settings like kitchens, living rooms, or offices. This will help potential customers imagine using your product in their own lives.
Taking product photos with models
Models can help bring product photos to life and make them more relatable to potential customers. If you’re selling a typically worn product, like clothing or jewelry, try incorporating models into your shots.
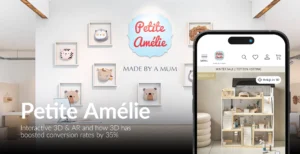
Taking model images can be expensive, but there is a solution to make it much more cost-efficient. POS3D makes it possible to create multiple unique and realistic model shots with only a few basic model images. Book a free demo to find out more about this innovative product.
Things to keep in mind when uploading your product images
As you surely know, photographing your products is only the beginning. For your images to start having an impact on your e-commerce business by bringing in more traffic and increase sales, there are a few factors to keep in mind.
Name your images
You’d think an image speaks for itself, but that’s not enough to get results online. Even though an image file name may not directly help your customers, it does help Google to ‘read’ your product images and ideally highlight them in the search results. It also makes tracking all your images more accessible than the automatically generated file names.
Don’t forget to add alt text to your product photos as well. These tags appear when an image doesn’t show, for example, because of long loading times or an error on your website. By writing relevant alt text, you’re improving your site’s user experience and ranking by Google.
Make sure the image names and alt-tags are descriptive but short. Include keywords relevant to your product, but don’t overdo it and use variation. For example, you can name one image red-Nike-sneakers (usually the bare pack shot) and another red-nike-sneakers-close-up.
Keep your images small
Your product photos need to be sharp, but you don’t want your image files to be too heavy on your website. Large files lead to slow loading times, leading to more shoppers leaving your website without converting. Online shoppers don’t want to wait for the images to load. Therefore, it’s always essential to keep the file size of your product images as small as possible.
But be careful not to compress images up to the point that they become blurry. The best way to minimize image size is by reducing the dimensions in Photoshop or another editing program.
The right image file type
Image size and image file type go hand in hand, so don’t just pick any file type for your website. Usually, product images come out best (and smallest) as JPEG, but WebP is a good alternative. PNG for product photos tends to result in heavy files, which can be disastrous for your online store.
Add a product description
In addition to images, product descriptions are a must-have to secure conversions on your product pages. A long and detailed description gives consumers the information they need to decide whether to order the product. As a bonus, it helps your product page to get picked up by Google. Combining detailed product images is a great way to boost traffic and sales.
Consistency
Knowing how to take product photos is essential, but it’s not worth much if the style and quality are inconsistent. New customers tend to judge your website not just on a single product image but on the overall appearance. So if products look decent but very different from each other, it can hurt customer trust in your brand.
However, applying consistency to your entire website can be time-consuming and requires clear insights on what needs to be done. At Bright River, we have the experience and expertise to create an efficient workflow for consistent visual content. Read more about it on our website and request a demo to see the possibilities for your business.
Go from good to great product photo’s with post-production
As you’ve seen in this article, you don’t have to be a professional photographer to create product images. However, you need to optimize your images in post-production to maximize your online results.
With Bright River’s post-production solutions, such as extensive image editing possibilities, POS3D, and even CGI, your image editing workflow will start adding more value to your website, increasing your ROI and saving time to focus on your other priorities.
If you never want to worry again about product photos not being good enough to convince your customers, plan a free call with us. In just 20 minutes, we will show you how we can boost your online performance and how we already did so for many of the world’s leading e-commerce brands and retailers.